
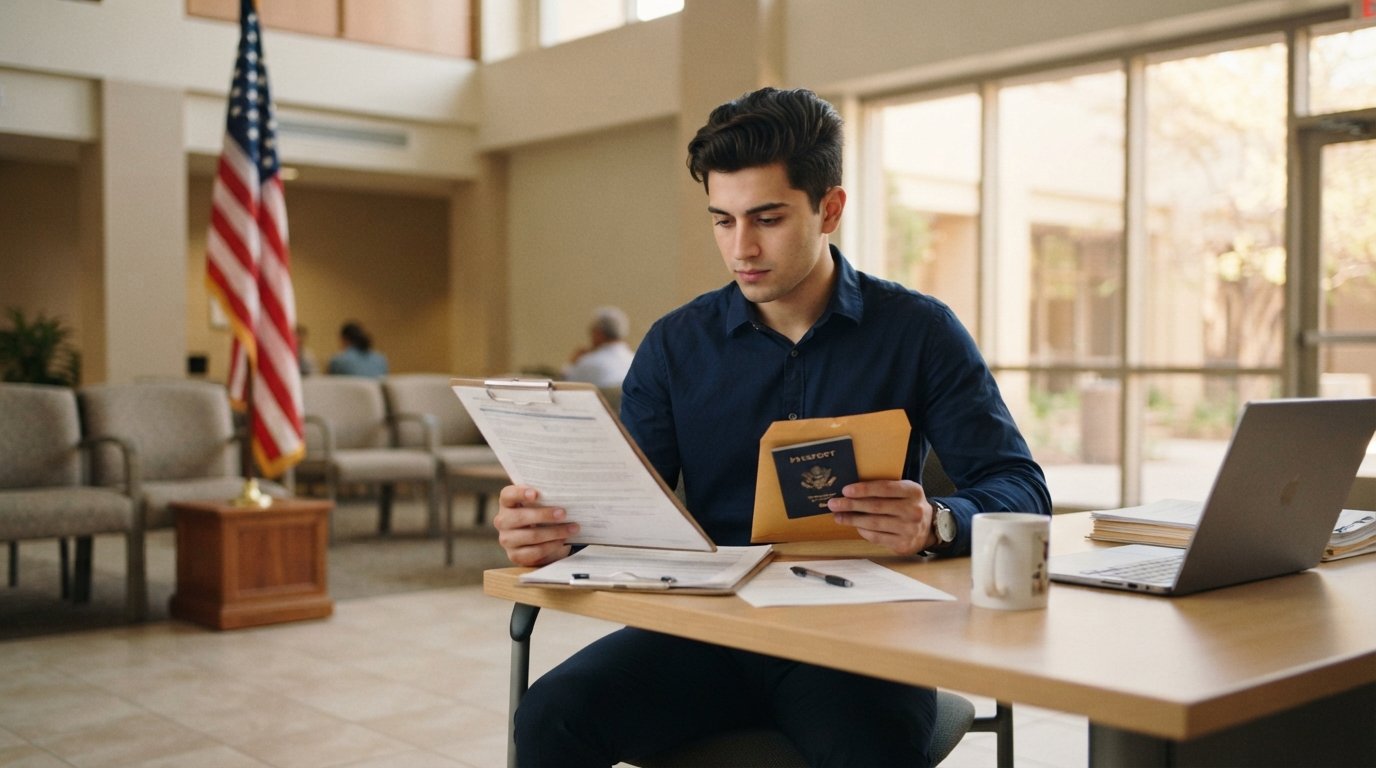
Student Visas for International College Applicants in the US
Understanding student visas for international college applicants in the US starts with the I-20 and ends at the port of entry. Here is the full process.

By Diana Tillotson
Every year, hundreds of thousands of international students set their sights on colleges and universities in the United States. Before any of them can unpack a dorm room or attend a first lecture, they must clear one major hurdle: securing a student visa. The process involves multiple government agencies, strict paperwork requirements, and interview appointments that can feel intimidating. Yet the system is navigable when you understand what each step demands and why it exists. This guide breaks down the full journey, from receiving your I-20 to arriving at a US port of entry, so you can move through each stage with confidence instead of confusion.
What a US Student Visa Actually Is and Why It Matters
A student visa is a legal authorization that allows a foreign national to enter and remain in the United States for the primary purpose of pursuing an approved course of study. It is not the same thing as admission to a college. A school can accept you academically, but the US government decides whether you may enter the country to study. These are two separate approvals, and you need both.
The most common visa categories for college applicants are the F-1 and the M-1. The F-1 covers academic programs, language training, and most degree-seeking study at accredited institutions. The M-1 applies to vocational and nonacademic programs, such as certain trade certifications. Most international applicants heading to a four-year college or university will pursue an F-1 visa. A third category, the J-1, applies to exchange visitors and carries its own set of rules, including a possible home-residency requirement after the program ends.
Understanding the distinction matters because the visa category determines your legal rights while in the country. F-1 students can generally work on campus, qualify for limited off-campus employment through practical training, and bring dependents on F-2 visas. M-1 students face tighter restrictions on employment and duration of stay. Choosing the wrong category, or assuming they are interchangeable, can create serious problems later.
The Core Requirements You Must Satisfy
To qualify for a student visa, you must demonstrate several things to the US government. First, you must be accepted by a Student and Exchange Visitor Program (SEVP) approved school. That school will issue you a Form I-20, which is the official document the government uses to verify your enrollment eligibility. Without an I-20, you cannot apply for an F-1 or M-1 visa.
Second, you must prove you have sufficient funds to cover tuition, living expenses, and related costs for at least the first academic year. This is not a casual statement of intent: you need bank statements, sponsorship letters, scholarship documentation, or other evidence that the money exists and is available to you. Third, you must show that you intend to return to your home country after completing your studies. This is known as nonimmigrant intent, and it is one of the most scrutinized factors during the visa interview.
Beyond those core requirements, you must also be admissible to the United States. Certain criminal convictions, prior immigration violations, or health-related grounds can make you ineligible. In some cases, a waiver is possible, but the process adds time and complexity. It is far better to identify and address any potential admissibility issue before you reach the interview stage.
Step-by-Step: From Acceptance to Visa in Hand
The timeline from college acceptance to visa approval typically spans several months, so starting early is essential. Here is the sequence most applicants follow:
- Receive your acceptance letter and I-20. After a school admits you and you confirm your intent to enroll, its international student office will issue the I-20. Check every detail on the form, because errors can delay your visa application.
- Pay the SEVIS I-901 fee. This fee funds the Student and Exchange Visitor Information System, which tracks international students. Keep your receipt, because you will need it at the interview.
- Complete the DS-160 online visa application. This form asks for your personal history, travel plans, and educational background. Save your confirmation page with the barcode.
- Schedule your visa interview. Appointment wait times vary widely by country and season. Book as soon as you have your I-20 and SEVIS receipt.
- Attend the interview and provide biometrics. A consular officer will ask about your study plans, finances, and ties to your home country. Answer honestly and concisely.
- Receive your visa and prepare for travel. If approved, your passport will be returned with the visa foil inside. You may enter the US no earlier than 30 days before your program start date.
Each of these steps has its own pitfalls. For example, a mismatch between the name on your I-20 and the name on your passport can trigger a rejection at the interview window. A missing financial document can lead to a 214(b) refusal, which means the officer was not convinced you qualify. Preparing a clean, consistent application package from the start reduces the chance of these avoidable setbacks.
The Visa Interview: What Officers Really Want to Know
The visa interview is often the most anxiety-inducing part of the process, but it becomes far less intimidating once you understand its purpose. The consular officer is not trying to trick you. They are assessing three things: whether you are a genuine student, whether you can afford your education, and whether you intend to return home after your program ends.
To address the first concern, be ready to explain why you chose your specific school and program. A vague answer like "it is a good university" carries little weight. A stronger answer connects your program to your academic background and career goals. If you are changing fields, explain the reasoning clearly. Officers hear thousands of applications and can tell when someone has not thought through their decision.
On finances, bring documentation that matches the amounts listed on your I-20. If a relative is sponsoring you, include a letter from that person stating their relationship to you and their commitment to cover your costs. If you received a scholarship, bring the award letter. Consistency between what you submitted to the school and what you present at the interview matters more than the total dollar amount.
Finally, be prepared to discuss your ties to your home country. This does not mean you need property or a job waiting for you. It means you should be able to articulate family connections, career opportunities, or other reasons you plan to return. Officers understand that plans can change, but they want to see that you have a genuine intention to depart after your authorized stay.
Common Mistakes That Derail Applications
Most visa denials stem from avoidable errors rather than fundamental ineligibility. One frequent mistake is applying too late. Visa appointment backlogs can stretch for weeks or months in some countries, and missing your program start date can force you to defer enrollment. Another common issue is inconsistent information across documents. If your DS-160 says one thing and your I-20 says another, the officer will notice.
Some applicants also underestimate the importance of the SEVIS fee receipt. Without proof of payment, the interview cannot proceed. Others forget to bring a passport valid for at least six months beyond their intended stay. These may seem like small details, but they can turn a straightforward approval into a rescheduling nightmare.
A less obvious but equally damaging mistake is treating the interview as a formality. Some applicants assume that admission to a prestigious school guarantees visa approval. It does not. The visa decision is independent, and even students headed to top-ranked universities have been refused when they could not demonstrate financial capacity or nonimmigrant intent. Preparation and honesty remain the strongest tools you have.
Maintaining Status Once You Arrive
Receiving the visa is not the end of the process. Once you enter the United States, you must maintain your student status to remain in good standing. That means enrolling full-time, attending classes, and making normal progress toward your degree. If you need to drop below full-time enrollment for a medical or personal reason, you must work with your school's international student advisor to get proper authorization.
Employment rules are another area where international students often run into trouble. On-campus work is generally permitted, but off-campus employment requires specific authorization, such as Curricular Practical Training (CPT) or Optional Practical Training (OPT). Working without authorization can lead to deportation and a ban on reentry. Your international student office is the best resource for understanding what you can and cannot do.
Travel outside the United States also requires planning. Before leaving, make sure your visa is valid, your I-20 has a recent travel signature from your designated school official, and you have proof of enrollment. Reentering the country without these documents can result in being turned away at the border, even if you have a valid visa.
Where to Find Programs and Support
Choosing the right school is the foundation of a successful visa journey. A college matching service like CheapOnlineEducation can help prospective students explore online and campus degree options, compare sponsored listings, and request information from schools that fit their goals. Visitors can browse by subject or state and connect with participating institutions without any obligation to apply or enroll. The site is a matching service, not an educational institution, but it can simplify the early research phase considerably.
Once you have a shortlist of schools, reach out to each one's international student office. These offices exist specifically to guide foreign applicants through the I-20 process, visa requirements, and pre-arrival planning. They can answer questions about financial documentation, SEVIS fees, and what to expect at your interview. Building a relationship with these advisors early can save you significant stress later.
It also helps to connect with current international students at your target schools. Online forums, social media groups, and alumni networks can provide firsthand accounts of the visa process in your home country. While every case is unique, hearing how others navigated the same steps can make the process feel far less overwhelming.
Key Takeaways for a Smoother Visa Experience
The student visa process rewards preparation and penalizes procrastination. If you remember nothing else, keep these principles in mind:
- Start early. Begin the visa process as soon as you receive your I-20, not weeks before classes start.
- Be consistent. Every document you submit should tell the same story about your background, finances, and plans.
- Prepare for the interview. Practice explaining your program choice, funding sources, and post-graduation intentions.
- Maintain your status. Follow enrollment and employment rules once you arrive to avoid jeopardizing your visa.
- Use available resources. International student offices and college matching services can guide you through each stage.
These habits do not guarantee approval, but they dramatically reduce the risk of preventable delays or denials. The students who sail through the process are usually the ones who treated it as a project with clear deadlines and checklists, not as a last-minute formality.
Understanding student visas for international college applicants in the US is ultimately about recognizing that the process, while detailed, follows a logical structure. Each requirement exists for a reason, and each step builds on the one before it. By approaching the journey methodically, you give yourself the best chance of arriving on campus ready to focus on what matters most: your education.